Generation mode
VerifiedImage-to-video takes a still image as input and generates a video clip that animates the scene while preserving the visual style of the source
A detailed guide to HappyHorse image-to-video generation covering image preparation, motion prompts, and best practices for turning still images into animated video clips.
Key facts
Image-to-video takes a still image as input and generates a video clip that animates the scene while preserving the visual style of the source
Image-to-video gives you direct control over the starting frame, which means more predictable composition, color, and subject appearance
Higher resolution and cleaner source images consistently produce better animation results across all AI video models
A text prompt accompanying the image tells the model what motion to apply, making the motion prompt just as important as the image itself
Get 50+ tested AI video prompts, comparison cheat sheets, and workflow templates delivered to your inbox.
Mixed signal
Tutorial content is based on publicly available information. Some workflow details may change as more is officially confirmed.
Readers should expect careful wording here because public reporting confirms the topic, while some product details still need cautious treatment.
Image-to-video generation lets you start from a still image and turn it into a short animated clip. This gives you far more control over the visual starting point compared to text-to-video, making it the preferred workflow for creators who already have artwork, photos, or design assets.
Text-to-video is powerful but unpredictable. You describe what you want, and the model interprets it. Sometimes the result matches your vision; sometimes it does not.
Image-to-video solves the biggest pain point: you control the first frame. The model's job becomes adding motion to something that already looks right, rather than inventing everything from scratch.
This is particularly useful for:
The quality of your source image directly determines the quality ceiling of your output. Follow these guidelines:
The motion prompt tells the model what should happen in the video. Unlike text-to-video prompts, you do not need to describe the visual content since the image handles that. Focus entirely on motion.
Action + Camera movement + Speed/intensity + Duration
For a portrait photo: "Subtle head turn to the right, hair moving gently in a breeze, soft natural motion, 3 seconds"
For a landscape: "Slow camera push forward into the scene, clouds drifting left, water rippling gently, calm cinematic pace, 5 seconds"
For product photography: "Slow rotation clockwise, dramatic studio lighting shifting subtly, smooth commercial motion, 4 seconds"
For anime artwork: "Character blinks and looks up, cape flowing in wind, dynamic anime motion, 3 seconds"
While specific HappyHorse interface controls are unconfirmed, these are standard settings found in most image-to-video tools:
After generating, check these quality indicators:
| Problem | Likely cause | Fix | |---|---|---| | Subject morphing | Motion too aggressive | Reduce motion strength, use "subtle" in prompt | | Background warping | Complex background | Simplify background or specify "static background" | | Flickering | Low source resolution | Use a higher resolution source image | | Unintended motion | Vague motion prompt | Be more specific about what moves and what stays still | | Color drift | Long duration | Shorten the clip to 3-4 seconds |
Photographs generally produce the most naturalistic results. Focus on realistic motion like wind, water, breathing, and subtle body movement. Avoid asking for physically impossible motion.
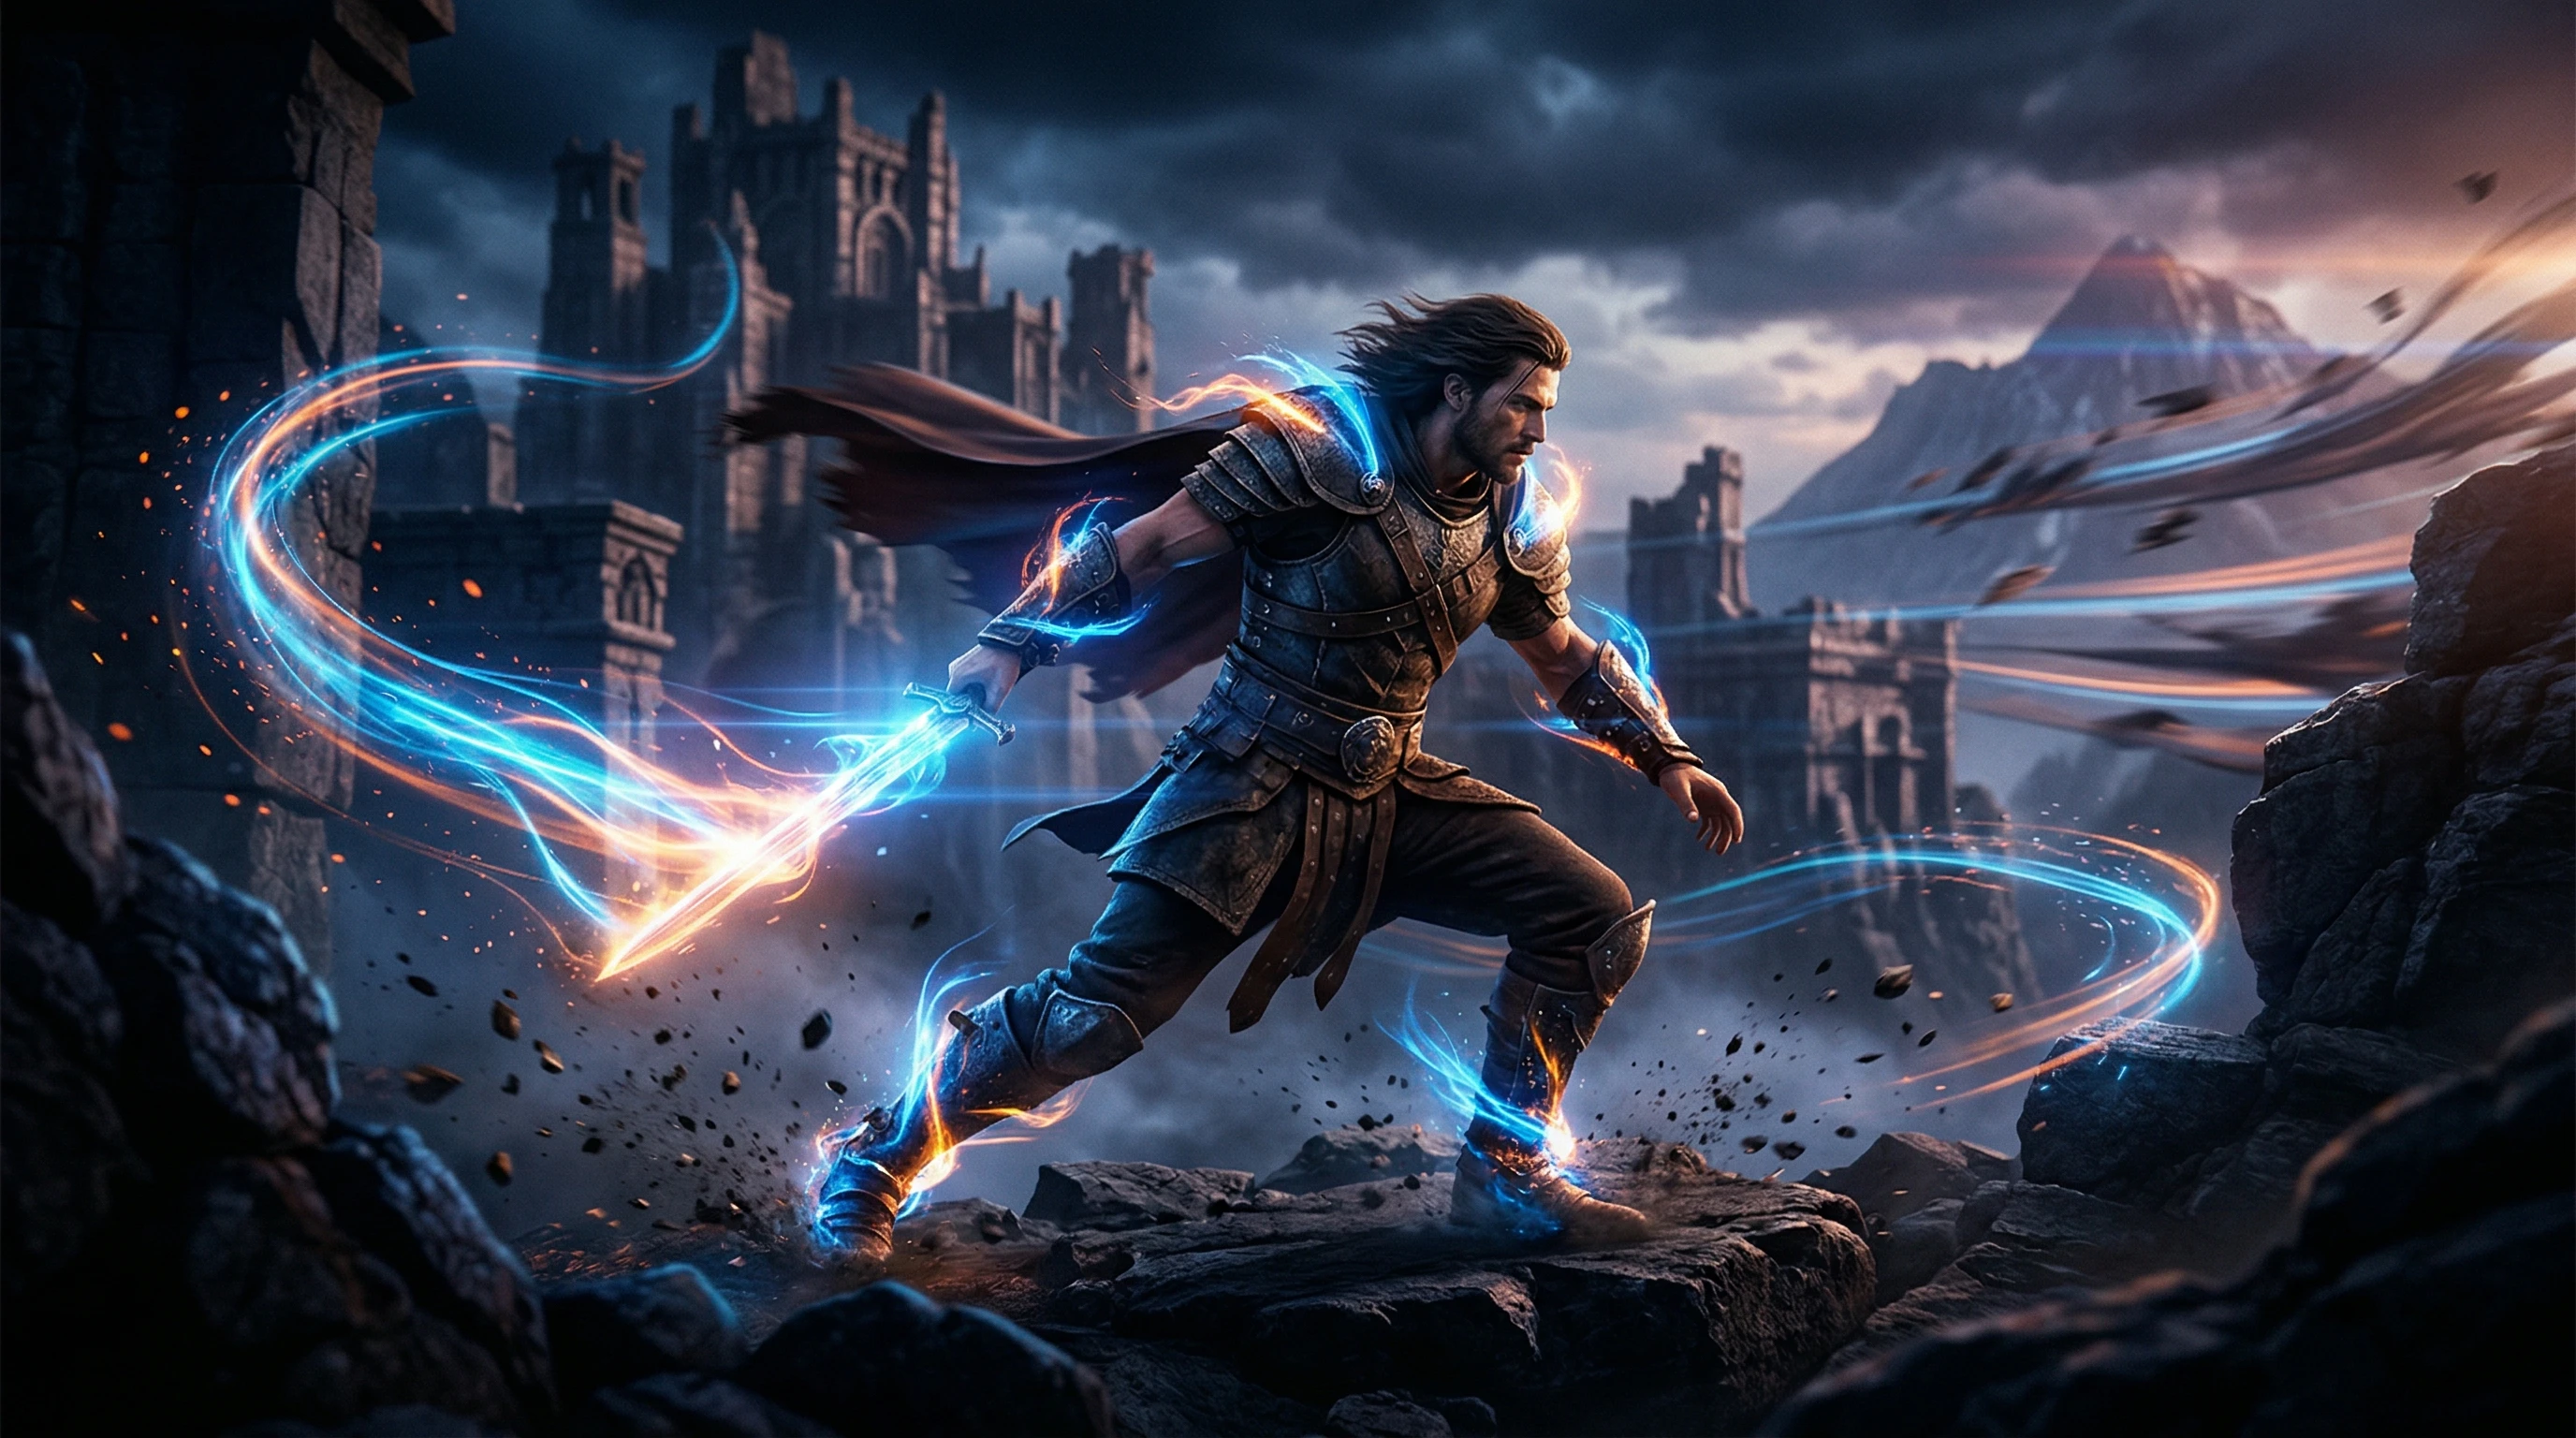
Stylized art can produce stunning results. The model tends to preserve the art style during animation. Anime and semi-realistic illustration styles work particularly well for image-to-video.
Using an AI-generated still image as your source is a powerful two-step workflow. Generate the perfect frame with an image model, then animate it with HappyHorse. This gives you the control of image generation plus the motion of video generation.
Product photography benefits from simple, controlled motion: slow rotations, subtle lighting shifts, or gentle camera movements. Keep the motion minimal to maintain the professional feel.
For maximum control, combine text-to-image and image-to-video:
This approach gives you the precision of image generation with the motion of video generation, and it is significantly more controllable than pure text-to-video.
This website is an independent informational resource. It is not the official HappyHorse website or service.
FAQ
While specific supported formats have not been officially confirmed, PNG and JPG are universally supported by AI video tools. Use PNG for images with transparency or sharp edges, and high-quality JPG for photographs.
Ideally your source image should be at least as large as the target output resolution. For 1080p output, use a source image of at least 1920x1080 pixels to avoid upscaling artifacts.
Motion intensity controls have not been confirmed for HappyHorse specifically, but most AI image-to-video tools offer some form of motion strength slider. Your motion prompt wording also heavily influences how much movement appears.
Common causes include low-resolution source images, overly aggressive motion prompts, complex scenes with many movable elements, and images with text or fine geometric patterns that the model struggles to maintain during animation.
Recommended tool
Powered by Elser.ai.
Try AI Image Animator